home recyling

Setting Up a Home Recycling Center in Your Garage


Setting Up a Home Recycling Center in Your Garage

It’s never too late to start recycling! If you’re looking for ways to shrink your carbon footprint, it’s time to get serious about reducing waste. Setting up a home recycling center is easy—and a garage is a great place to do it.

Here are four simple steps to setting up a home recycling center in your garage.

Learn the local recycling rules and regulations.

Before you get started, we recommend visiting your town website to learn more about the specific rules and regulations regarding recycling. From lists of what you can and can’t recycle to the weekly collection schedule, you’ll find everything you need to know.

Establish the main home recycling center.

A garage is the perfect hub for your home recycling, especially if it’s right off the kitchen. This way you won’t have to deal with any accumulating odors or messes indoors, but you’ll still have easy access to your bins. That said, you may find that it’s helpful to establish mini recycling areas in various locations throughout your home that you can empty each day into the main hub.

Stay organized.

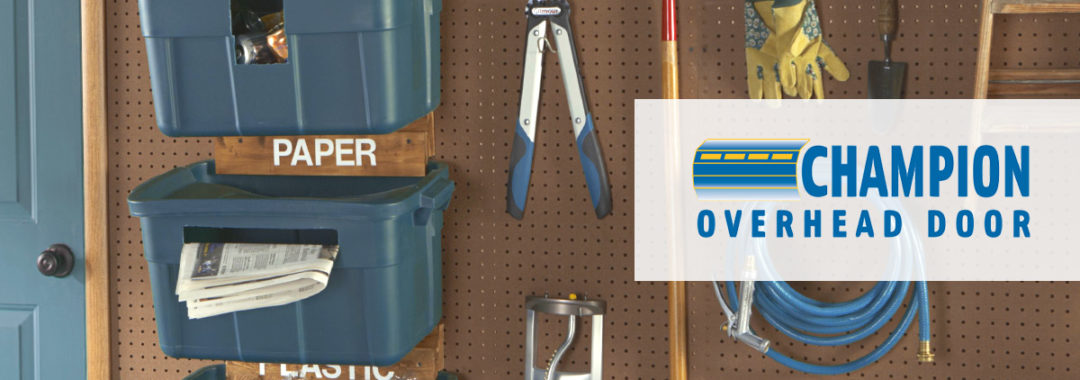
There are plenty of simple DIY tricks out there for conserving space and staying organized with your home recycling, such as these recycle bin hangers. As you get going, you’ll have a better idea of what size bins you need and how to best store them. And don’t forget to label your bins to avoid any confusion!

Create a schedule.

The best way to get into the habit of doing something new is to establish a routine and stick to it. Use the calendar on your smartphone to set weekly reminders for yourself to take the recycling to the curb. Every night after dinner, empty the mini recycling bins into the main home recycling center in your garage. Keeping a schedule will help you stay organized and avoid clutter.

What have you learned from recycling at home? Share your tips with us in the comments below!

garage pegboard

Tips and Tricks for Creating the Perfect Garage Pegboard


Tips and Tricks for Creating the Perfect Garage Pegboard

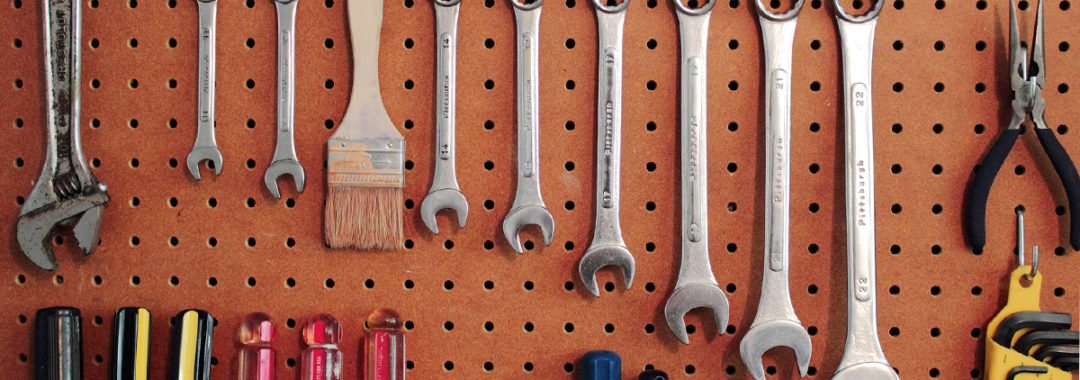
When it comes to garage organization, there’s nothing more classic and reliable than pegboards. These sturdy, inexpensive space-savers are a staple in almost any home garage. Here are some simple tips and tricks for getting the most out of your garage pegboard.

Secure the hooks.

The one annoying thing about using a pegboard is that the hooks tend to fall out very easily. Fortunately, there are easy ways to prevent this from happening so you aren’t constantly having to slip them back in place. Dab the leg of your hook with hot glue before inserting it into the hole, or use zip ties to keep them locked in. Both solutions are simple and inexpensive!

Put it on wheels.

Instead of having to constantly walk over to your garage pegboard for the next tool you need, wouldn’t it be even better if your pegboard could come to you? Here’s a great tutorial on building your very own rolling pegboard cart for $50 or less. This is especially useful if you have a large space.

Think beyond hardboard.

When you picture a garage pegboard, you probably visualize the classic hardboard version, but there are actually a few different materials to choose from. Metal and plastic pegboards are just as sturdy as hardboard, but provide a completely different look.

Add custom shelves.

Standard pegboard hooks are great for most tools, but not all items have holes for hanging. Improve the versatility of your garage pegboardby adding custom shelves to house those hard-to-hang items. Learn how to build a simple DIY pegboard shelf here.

When you put the time and effort into creating a space for everything, you’ll be more motivated to keep your garage neat and tidy!

While there are plenty of projects like these that you can complete on your own, remember there are some that you should leave to the professionals. Contact Champion Overhead Door for a routine garage maintenance check!

best floor for garage

What’s the Best Flooring for a Garage?


What’s the Best Flooring for a Garage?


If you’re looking to breathe new life into your garage’s interior, but don’t have the time or budget for a complete renovation, updating your garage floor can be a great way to get a fresh look without a huge investment. And the best part? A couple of the options presented here can be a single-day project for even the novice DIY-er!

Before you begin, it’s important to assess the current state of your garage floor. Does it simply need a facelift or will repairs be required prior to commencing any cosmetic improvements? Minor cracks or surface chips are an easy fix that you can complete yourself by following these simple steps, but major issues such as a failing foundation, termite damage or raised tree roots will require professional attention.

Once you’ve determined your garage floor is structurally sound, it’s time to select your desired garage floor coating! Because each one of these options is designed to protect your garage floor from wear-and-tear, the decision is largely based on personal preference and your desired finished aesthetic. Garage floor options include:

Garage Floor Tiles

The most DIY-friendly option on this list, garage floor tiles are designed like puzzle pieces that snap together, so they’re easy to install without requiring any special experience or equipment. One of the biggest perks of garage floor tiles is that they are highly customizable. With many colors and patterns to choose from, you are able to get quite creative! As for functionality, most garage floor tiles are durable, chemical-resistant and designed for years of use.

Roll-Out Vinyl Flooring

Like garage floor tiles, roll-out vinyl flooring is another great DIY option. It’s essentially a thick rubber mat that you simply unroll over your garage floor, then trim as necessary for a customized fit. The mats are available in a variety of sizes and colors. Roll-out vinyl flooring is designed to provide traction and resist stains, but the biggest drawback to this garage floor coating is that it can be slippery in wet or snowy weather!

Garage Floor Paint and Garage Floor Epoxy

Coating your garage floor with epoxy paint, concrete stain or concrete sealer is another popular garage flooring option—but there’s a catch! Your garage floor must first undergo rigorous preparation for this method to be successful. That’s why this type of garage flooring – as simple as it sounds – is best left to a professional.

Why is garage floor paint or garage floor epoxy not a great project to do yourself? Well, if there’s any trace of moisture on the concrete, the coating won’t stick properly and your project will be ruined. The garage floor must also be completely clean and free of cracks or holes, which often requires a thorough once-over with a pressure washer and making numerous repairs. Despite the preparation and expense, garage floor paint or garage floor epoxy is designed to be a powerful protective sealant and will help to guard against stains, corrosive chemicals and moisture for years to come.

Caption: Heavy equipment, such as floor jacks, may accelerate normal wear and tear on your garage floor, necessitating repairs or cosmetic improvements.

If you’re in the process of upgrading your garage, why not schedule a garage door maintenance appointment to cover all your bases? Contact Champion Overhead Door to schedule a routine maintenance check.

Garage Door

What Color Should I Paint My Garage Door?


What Color Should I Paint My Garage Door?

A beautiful garage door not only boosts curb appeal, it also helps increase the value of your home. There are a lot of considerations that go into a garage door upgrade, but certainly the most fun is choosing your garage door color.

Here’s some advice we give our customers at Champion Overhead Door when they’re trying to decide on the perfect shade of paint.

Play it safe with neutrals.

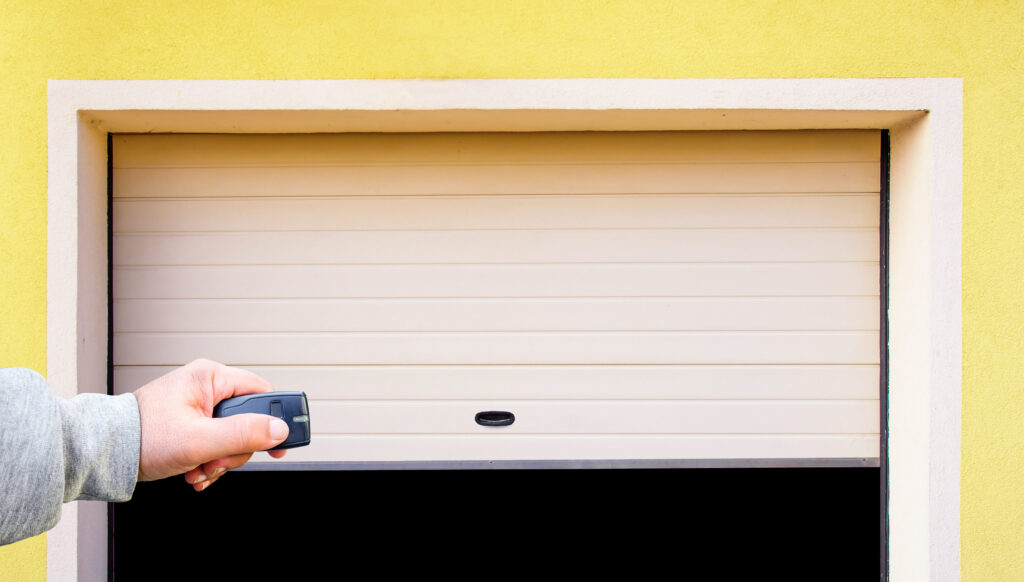
When it comes to garage door colors, it’s hard to go wrong with classic neutral shades. Colors like white, cream, gray or tan are typically safe choices, as they tend to go with most color schemes

Use a contrasting color.

ainting your garage door a contrasting color is one way to make it stand out and add some character. For example, if your house is painted a deep red, then a bright white garage door color can be quite striking and appealing. You can also opt for different shades of the same color, like a light grey house with a charcoal gray garage door.

Match accent colors.

A popular choice among homeowners is to match the garage door with the shutters and/or front door. If you’re the type of person who craves uniformity, this is a great way to achieve that without your home looking too bland.

Go bold and trendy.

Some people like their home to reflect who they are. If you have a big personality, a garage door is a great way to express yourself—not to mention stand out among other houses in the neighborhood. Black and charcoal gray are trendy garage door colors in 2018, but you can also go with something more colorful like a red or green if that’s what speaks to you.

Do you need help choosing your garage door color? Here at Champion Overhead Door, we have a wide array of doors to choose from, and we love assisting customers in all phases of the process. Contact us today to schedule a free consultation!

4 Steps for Building a Garage Gym


4 Steps for Building a Garage Gym

Let’s be honest, driving all the way to the gym to share equipment at an over-crowded facility isn’t always ideal. Not to mention the amount of money you spend on a monthly gym membership.

The idea of a home gym may seem out of reach, but it doesn’t have to be—especially if you have a garage. Here are four simple steps for building a garage gym

1. Declutter and maximize space.

If you’ve been using your garage for storage up until now, the first step is to clear out that space and make room for your garage gym. Determine which items you can sell, donate, throw away or store somewhere else. If you have a lot of stuff, consider renting an off-site storage space. Otherwise, you can install cabinets, bins and overhead racks on your walls and ceiling to free up that floor space.

2. Insulate the garage door.

Insulation is key to regulating temperature so that you’re comfortable exercising in your garage gym year-round. Chances are the walls in your garage are already insulated, but the garage door will need some work. This is a DIY project you can take on yourself, or you can talk to your local garage door service professionals about installing a new garage door that’s already insulated. Depending on the weather where you live, you may still need portable air conditioners or heaters to keep you comfortable.

3. Install new flooring.

If high-impact workouts are a big part of your gym routine, a concrete floor isn’t going to cut it. You’ll need a gentler, impact-absorbing surface to avoid harming your spine and joints. There are plenty of affordable options out there, such as interlocking or rolled rubber mats that you can easily install yourself.

4. Choose your garage gym equipment.

When purchasing workout equipment for your garage gym, start with machines you already know and like. Remember that variety is important. Ideally, you should have equipment for cardio and strength training.

Don’t have the money for expensive machines? No problem, you can still stock your garage gym with affordable DIY exercise equipment.

Keep in mind that investing time and money into this project up front will save you the ongoing hassle and expense of going to a public gym. With everything you need right there in your garage, you’ll have no excuse not to exercise regularly!